API Design First on WSO2 API Manager
Feb 20, 2018 · 3 minute read · CommentsWSO2Api ManagerAPIMAPISwagger
The OpenAPI Specification(formerly Swagger) let us “create the RESTful contract for your API, detailing all of its resources and operations in a human and machine readable format for easy development, discovery, and integration”. So, using Swagger we can specify how our API will look like, which operations we can perform on that, the expected parameters or payloads and the format of the responses of the operations.
By having a way to define the contracts, it gives us the ability to quickly design an API and from this design prototype it without creating any real backend.
In this post, we are going to see how we can use WSO2 API Manager using an API First Design Approach importing a Swagger definition file and how to prototype our API.
Let’s start.
1. The Swagger File
For this blog post we are going to create a simple API definition for Test Scores with two resources:
GET /scores/{testId}: To retrieve the Score information by the given testId:
{ “testId”: 0, “score”: 0 }
GET /scores/user/{username}: To retrieve all the test scores for the given username:
[ { “testId”: 0, “score”: 0 } ]
We can see the swagger definition below:
2. Using the Swagger file on WSO2 API Manager
WSO2 API Manager gives us the possibility to create APIs from a Swagger Definition file. Below we can see the steps to publishing an API from a swagger file.
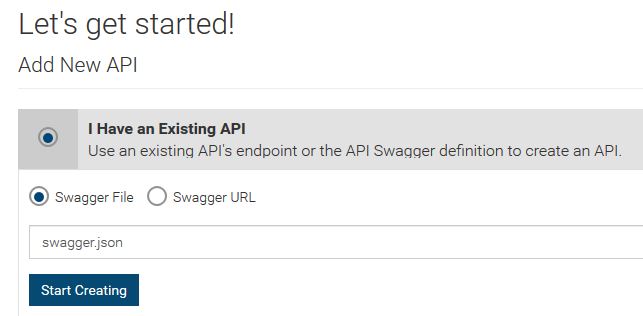
- In the Publisher portal, we go to the “Add New API” and select “I have an Existing API”, then select the swagger file and click “Start Creating”:
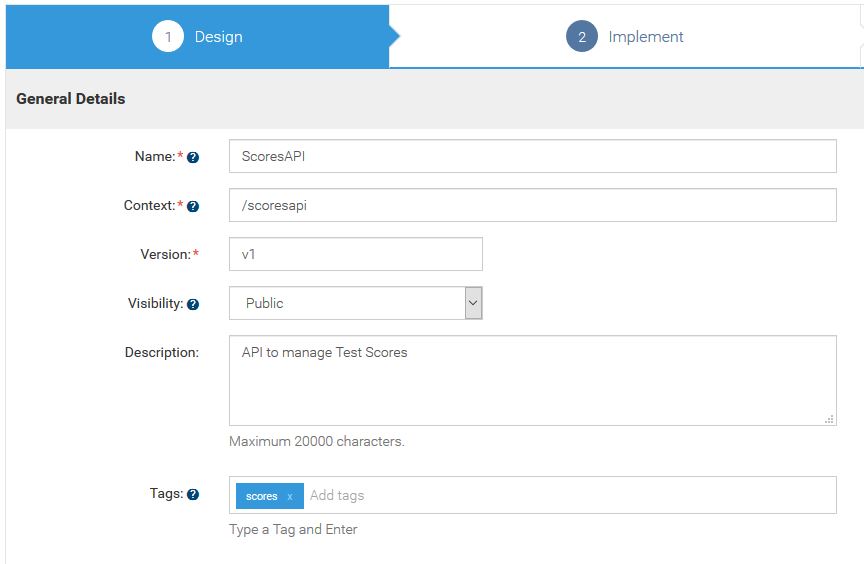
- In the next step, we will see that the most part of the information will be filled from the swagger file, such as Title, Version, and the resources, but we need to specify the context, in our example, we will use /scoresapi:
- After that, we go to the Implement tab, in this tab we have an option to point to an existing backend in the Managed API, or we can have a Prototyped API. In our example of API Desing First, we are going to have a Prototyped API. And we will have an inlined API. When choosing the inline option, and it will give us the option to define the response for the resources we defined in the swagger file:
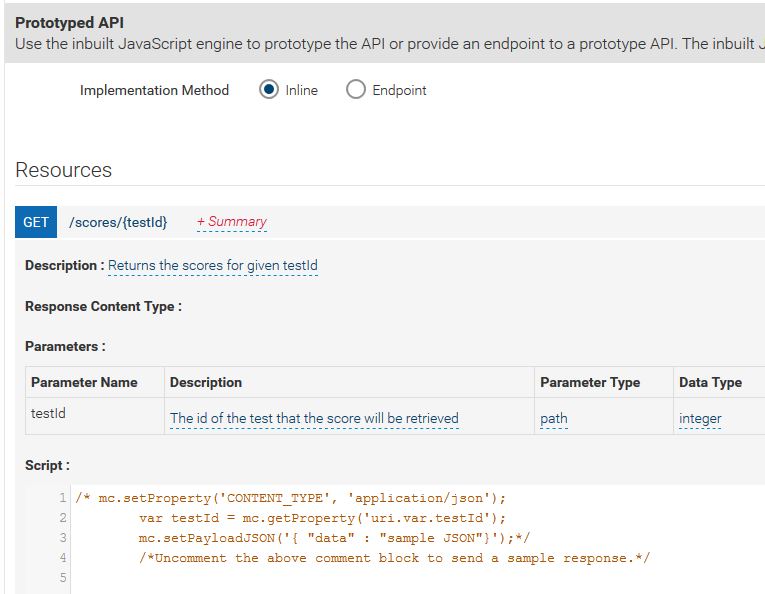
For the inline script, it is basically a script mediator code snippet. For the resource /scores/{testId} we will have the following code snippet:
mc.setProperty('CONTENT_TYPE', 'application/json');
var testId = mc.getProperty('uri.var.testId');
var response = {
  "testId": testId,
    "score": 7.0
    };
    mc.setPayloadJSON(response);
For the resource /scores/user/{username} we will use the following snippet:
mc.setProperty('CONTENT_TYPE', 'application/json');
var username = mc.getProperty('uri.var.username');
var response = [];
response.push({"testId": 123, "score": 7.0});
response.push({"testId": 124, "score": 8.0});
response.push({"testId": 145, "score": 10.0});
mc.setPayloadJSON(response);
And then we click on Deploy as Prototype. After that, the API will be published to the API Store and we can start invoking the APIs:
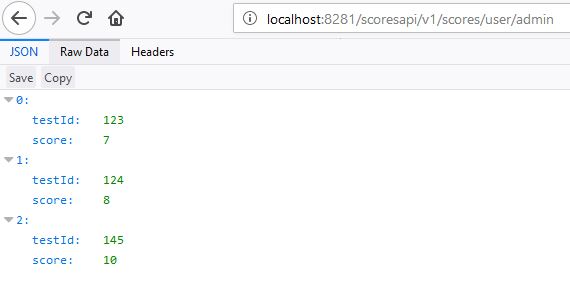
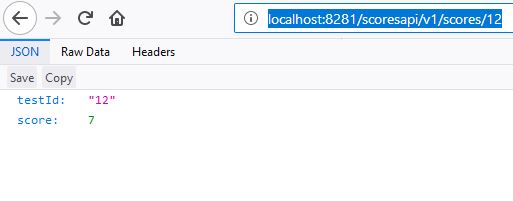
As we can see using the Prototyped APIs we can quickly have an API up and running and all the API consumers can start using the API.
That’s it for today, I hope you enjoyed it.
See you in the next post.