Enable SSO Authentication in WSO2 EI using Okta
Jan 12, 2020 · 3 minute read · CommentsWSO2ESBEISSOOktaHow To
This post will show how to enable SSO authentication in WSO2 Enterprise Integrator using Okta. For this tutorial we are going to use WSO2 EI 6.5.0. It also requires us to have an account in okta, we can create one for free using in the okta website.
Configuring Okta
In the developer’s console, we need to switch to the Classic UI and then we need to do the following:
- Go to Applications -> Add Application -> Create New App;
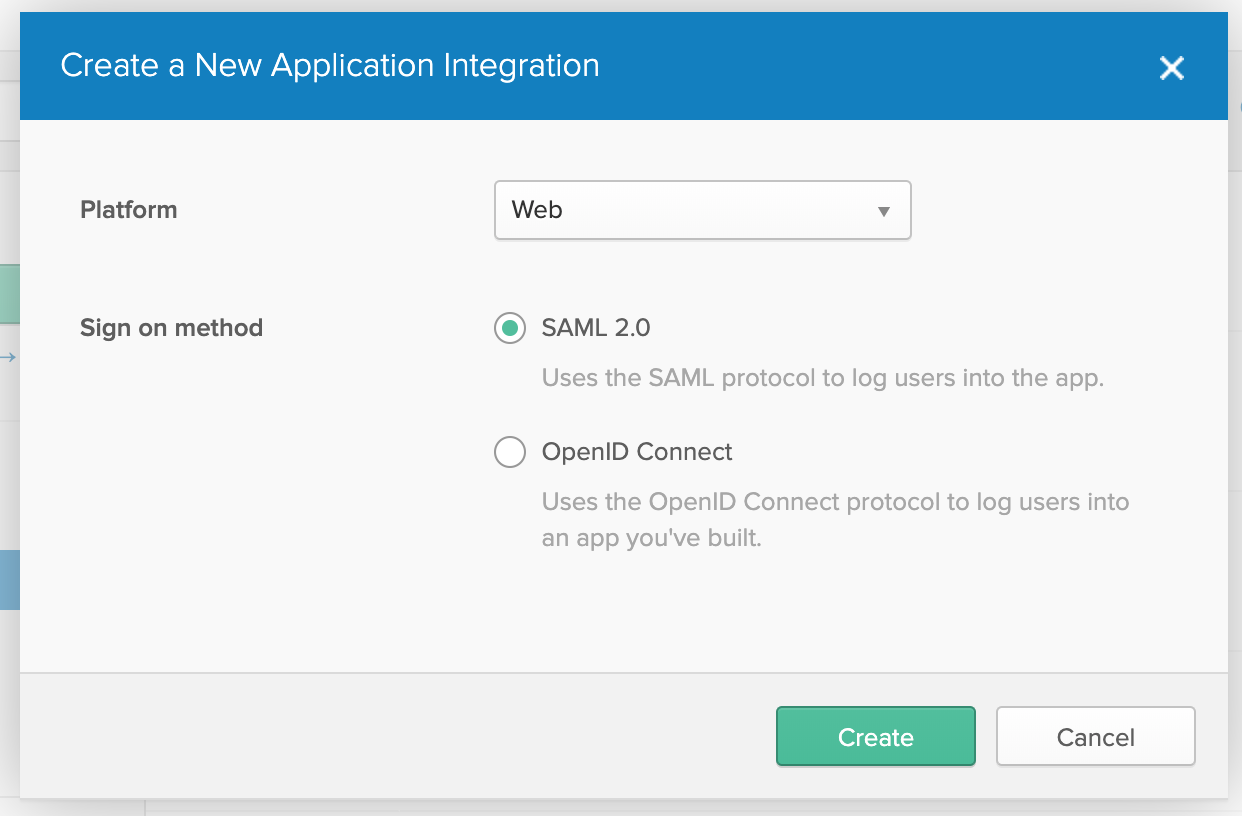
- In the Create new application window choose, Platform: Web and SAML 2.0 for the Sign on method and then click Create button
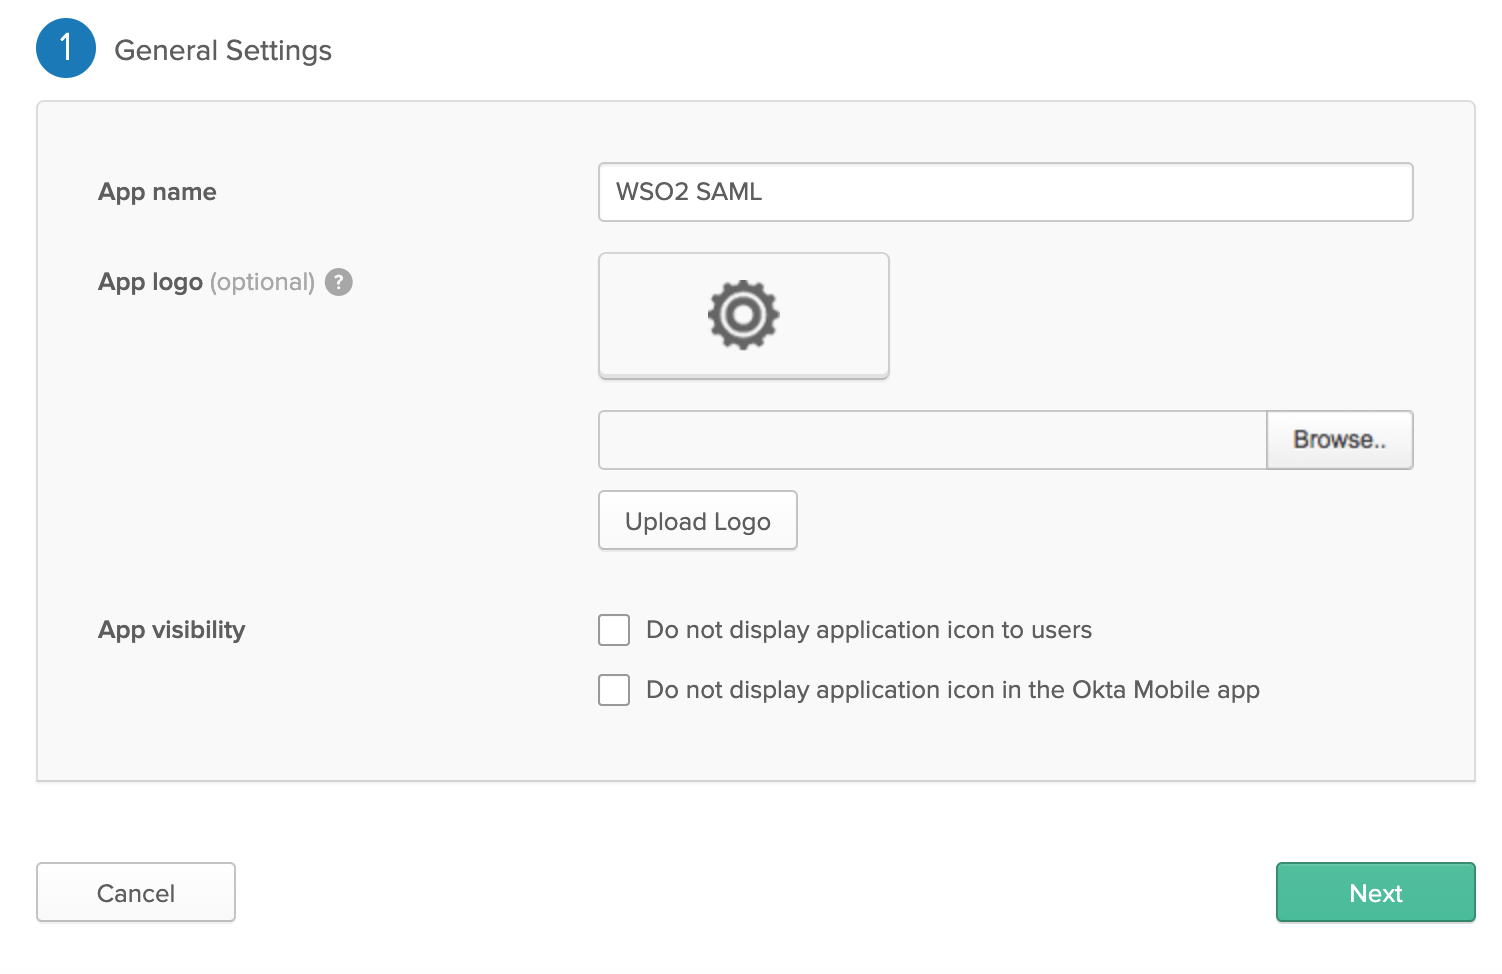
- In the General Settings, we should add a name, for our example it will be “WSO2 SAML” and then click next
In the SAML Settings tab we are going to add the configurations in order to make it work with EI:
- Single Sign On URL: https://localhost:9443/acs (This is the URL where the SAML Assertion will be sent to, you must specify your server’s endpoint, in our example it is localhost);
- Audience URI (SP Entity ID): WSO2_EI
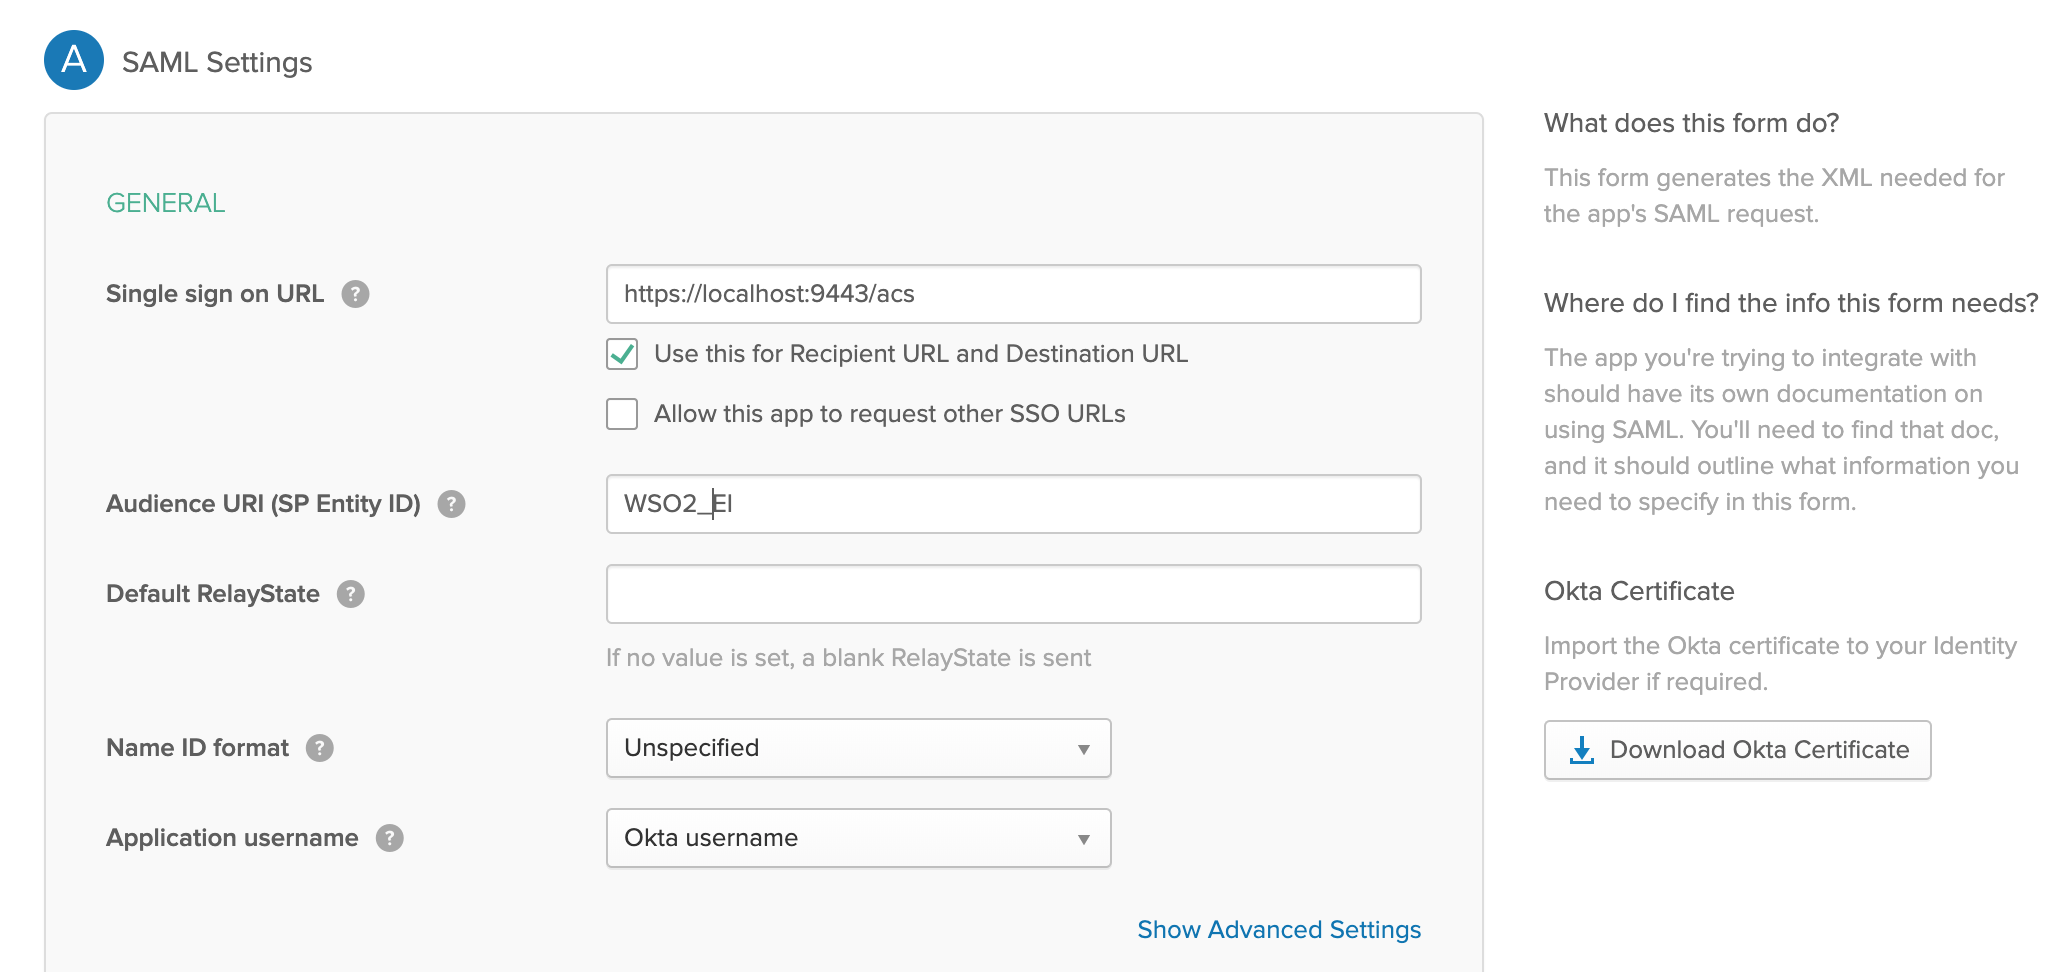 Before click next, download the the okta’s certificate using the button download Okta Certificate in the right, we are going to need it later. When you download it, it will be saved as okta.cert. After that we can click the Next button.
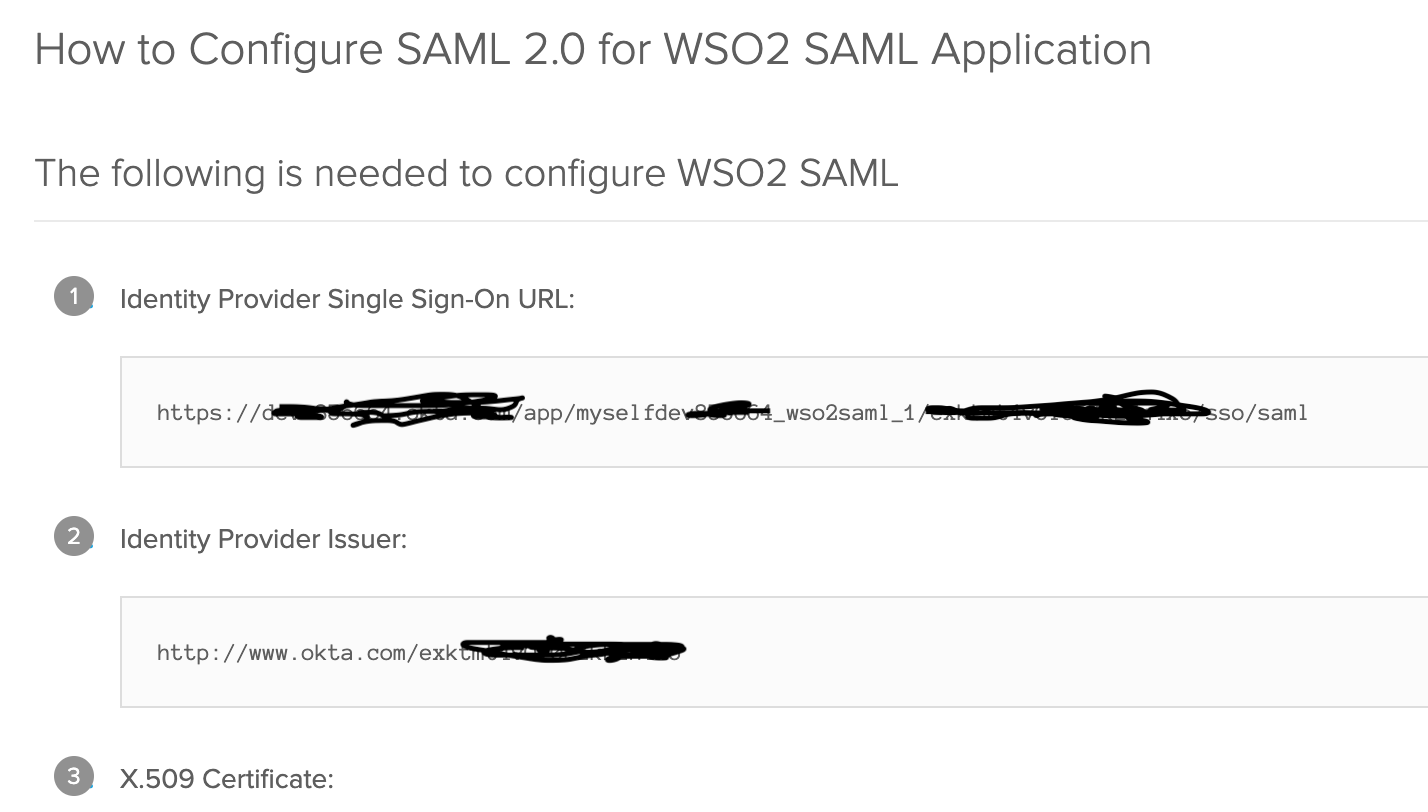
In the next tab, you can choose any of the options and click Finish. Now that we have the application created, we need to get the information to make the setup in EI, for that in the Sign On tab of the created app, click on View Setup Instructions. We will need the Identity Provider Single Sign-On URL:
Create a new user called admin. For that we need to go to Directory -> People -> Add Person:

We need to Assign that user to the application we just create(WSO2 SAML). If we click in the application, it will have a tab Assginments, we need to click in Assign -> Assign to People
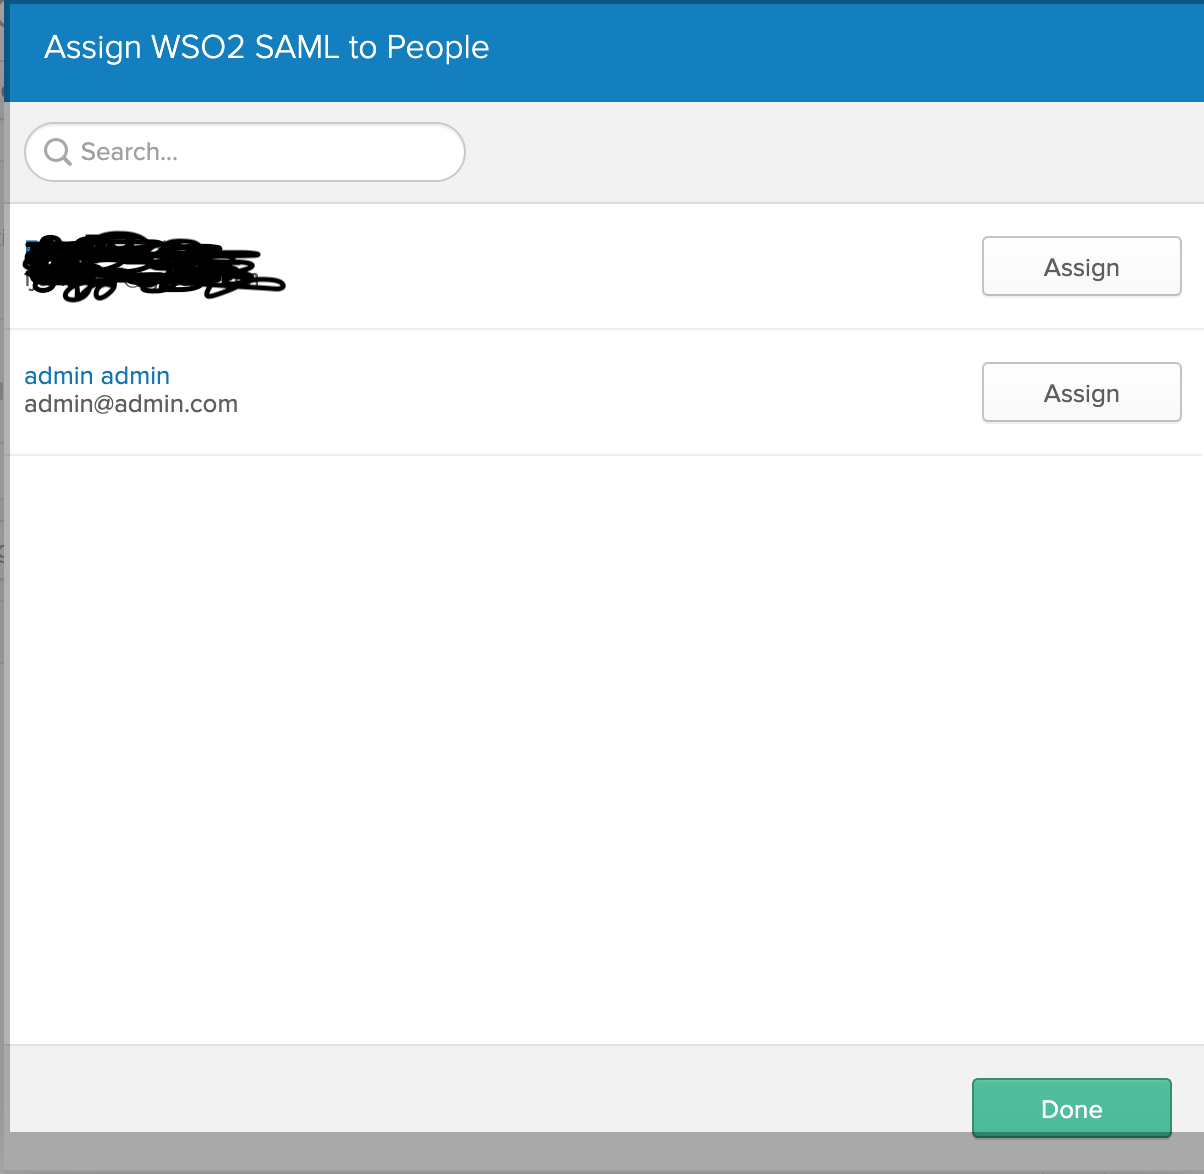
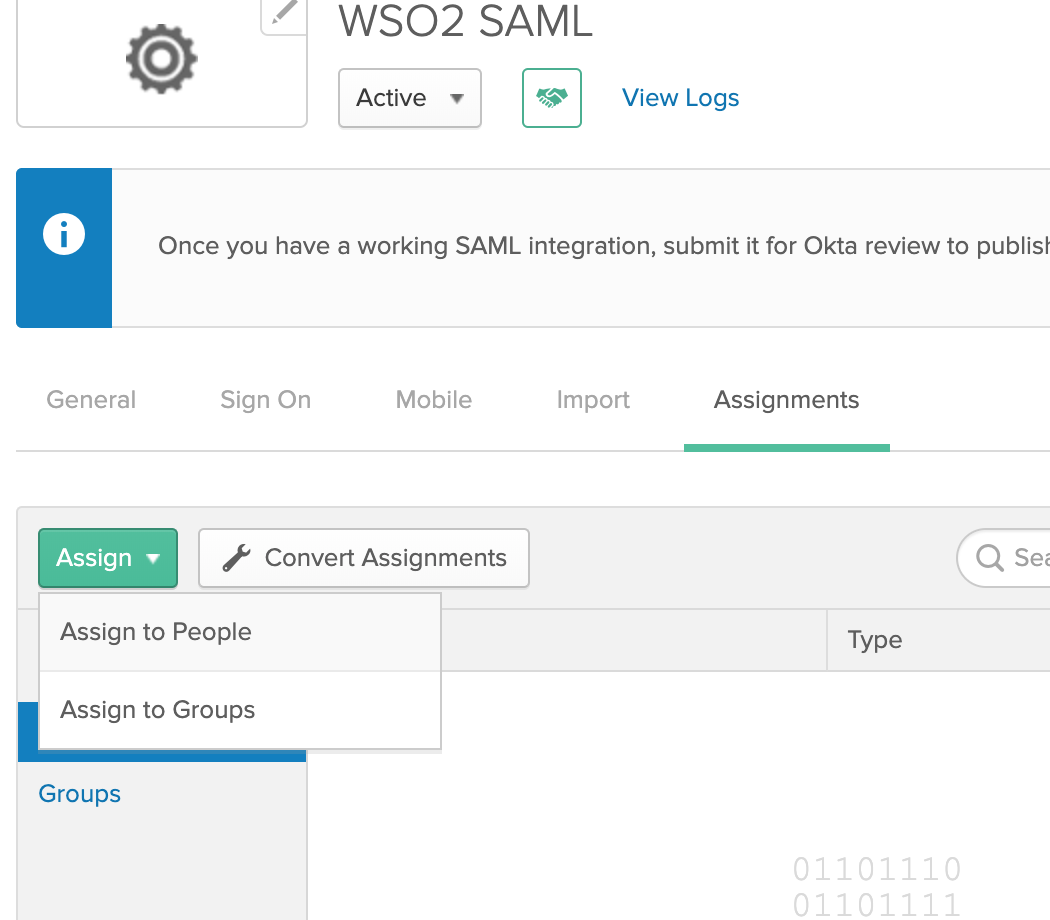 and click on the Assign button of the user
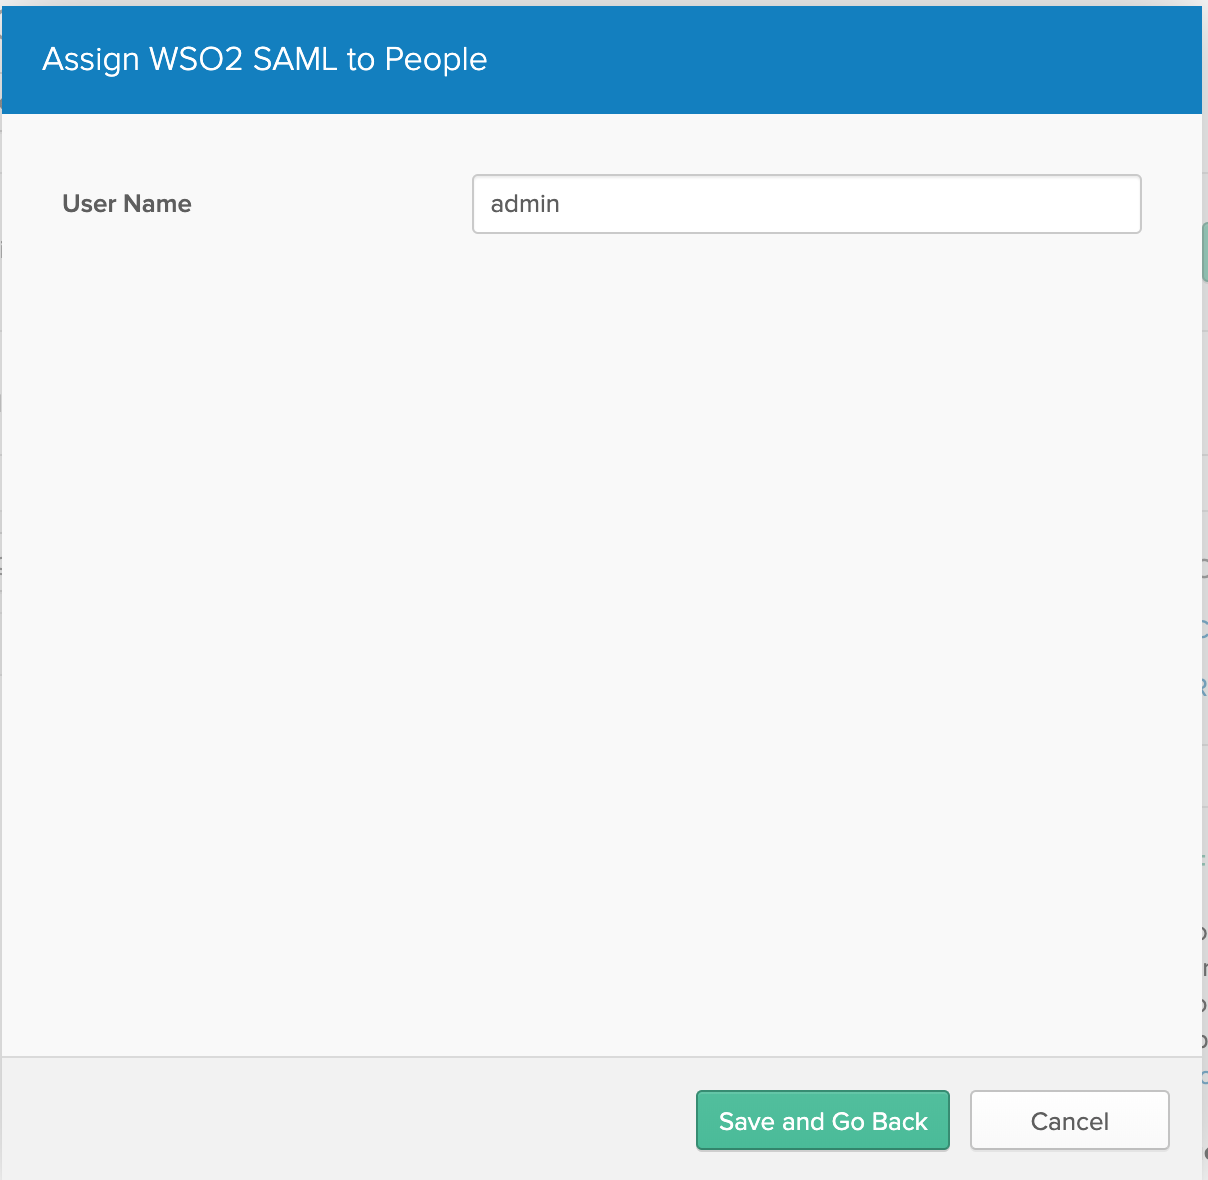
 When we click in the assign button, it will show a scree with the username, by default it contains the email, we should edit it to leave only admin and the click “Save and Go Back”, and then click Done.
Configuring EI to use OKTA as SSO
- We need to import the the certificate we downloaded in the previous steps into the wso2 keystore(wso2carbon.jks), we can find the keystore at WSO2_EI_HOME/repository/resources/security:
keytool -importcert -keystore wso2carbon.jks -keypass wso2carbon -alias okta -file okta.cert
- After that we need to configure the SSO Authentication in the file WSO2_EI_HOME/conf/security/authenticatiors.xml. We need to modify the SAML2SSOAuthenticator:
<Authenticator name="SAML2SSOAuthenticator" disabled="false">
	<Priority>10</Priority>
	<Config>
		<Parameter name="LoginPage">/carbon/admin/login.jsp</Parameter>
		<Parameter name="ServiceProviderID">WSO2_EI</Parameter>
		<Parameter name="IdentityProviderSSOServiceURL">https://dev-xxxxxx.okta.com/app/myselfdevxxxxxxx_wso2saml_1/exktmtxxxxxxxx/sso/saml</Parameter>
		<Parameter name="NameIDPolicyFormat">urn:oasis:names:tc:SAML:1.1:nameid-format:unspecified</Parameter>
		<Parameter name="AssertionConsumerServiceURL">https://localhost:9443/acs</Parameter>
		<Parameter name="IdPCertAlias">okta</Parameter>
	</Config>
</Authenticator>
The important settings are these:
- disabled: we set that to true in order to enable that authenticator;
- ServiceProviderID: that is the audienceID in okta;
- IdentityProviderSSOServiceURL: that is the IDP url we retrieved after creating the application;
- IdPCertAlias: that is the alias of the certificate imported into the wso2carbon.jks
After making those changes we need to restart the server.
Now when we try to access https://localhost:9443/carbon, it will redirect to the Okta login screen and we should use the admin as user and its password. If everything is set correctly, after the successful login it will redirect to the WSO2 Admin Console.
I hope you enjoyed it.
See you in the next post ;)